- Before we begin, each member of the pair will complete a "dating profile" with basic information like interests, hobbies, or phobias.
- The second member will then begin asking questions, attempting to get the first member telling a story.
- The "date" is over when the second member has reflected or redirected three times.
- The members then switch and the first member begins asking the second member questions.
Tuesday, March 22, 2016
Reflect and Redirect "First Date"
This is a role-play activity designed to acclimate students to the practices of reflecting and redirecting during an interview. We will use a "first date" structure to set the scene. Students will divide into pairs and conduct an active listening session with their "date."
Sunday, March 20, 2016
Interviewing Tips
As you begin filming, here are some tips and techniques for conducting successful interviews.
- Make contact
Before you show up, you need to make sure some basics are in order. When you contact your interviewee, make sure you tell them 1. how much of their time you need (you should try to keep your interview under 30 minutes total). 2. When you can come. Offer them several options so they can pick a time and day that is convenient for them. 3. What you'd like to talk to them about. This does not mean you give them a list of questions beforehand (although that is not taboo), but it does mean that they know why you're there and what you'll be asking them about in general. 4. Who you are. It changes the dynamic if they know that you are students who are working on a project. How many of you will show up? What equipment will you be bringing?
- Have a plan
- Don't jump right into the interview
- Be an active listener
- Don't feel rushed to move on
- Practice rephrasing questions
- Leave the interview with a plan
- Review your notes
- Follow up
Monday, March 7, 2016
Filming Basics
Filming and Editing Tips
Here are three tips to think about as you begin filming.
Filming Tip #1: No Vertical Video
We've talked about this ad nauseum in class, but let's finally make it official: vertical video is bad and I won't allow it in your final project. If you accidentally shoot a scene vertically, you need to either scrap it or go back and shoot it horizontally.
Filming Tip #1: No Vertical Video
We've talked about this ad nauseum in class, but let's finally make it official: vertical video is bad and I won't allow it in your final project. If you accidentally shoot a scene vertically, you need to either scrap it or go back and shoot it horizontally.

Why is vertical video so bad? It has to do with our biology. All televisions and computer monitors have a horizontal layout. The reason they have this is because our eyes are positioned horizontally on our heads. The result is that horizontal video makes ample use of our field of vision, while vertical video wastes a large portion of our field of vision.
Filming Tip #2: Watch the Light
Lighting is important in film. Since you'll rarely (if ever) be filming in a controlled studio setting, you won't have time for traditional Three Point Lighting. Instead, you need to focus on how you want to light your shots. When you're outside, you'll need to be very aware of the sun's position in relation to you and your subject. Similarly, inside, you'll need to watch for the main source of light in the room.
Be aware that all three options for lighting are available and viable, you simply need to pick the one that fits the best.
Want a standard shot that illuminates your subject? Use front lighting.
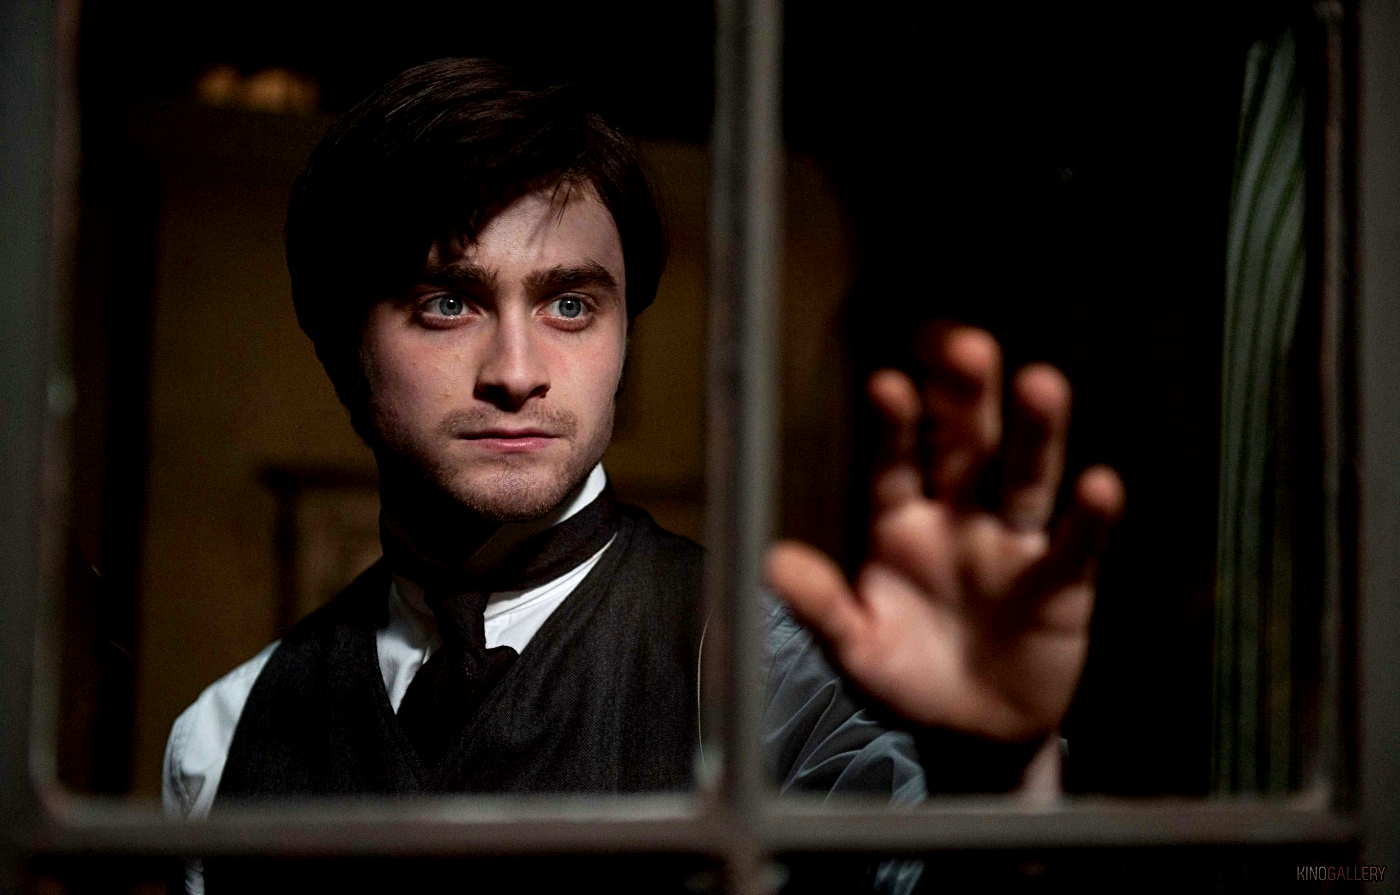
Want your subject to appear mysterious, uncertain, or in between a decision? Use side lighting.

Want to obscure your subject or place emphasis on the action and not the person? Use back lighting.
All these avenues are possible for your documentary, provided you can justify their use.
Filming Tip #3: The 10-Second Rule
Think back to the documentaries we watched in class. Standard editing keeps most shots shorter than 10 seconds. Remember also that there were several deviations from this "rule," including shots over one minute long.
For your films, I will impose a "soft" 10-second rule: no shot should be over 10 seconds-- unless it needs to be. In other words, if you group would like to use a shot that is longer than 10 seconds, you must be able to justify its use.
So how do you keep shots shorter than 10 seconds while using interview answers longer than 10 seconds? B-Roll footage.
Film Tip #4: B-Roll
B-Roll footage is supplementary or alternate footage that you use alongside interviews or monologues. It is essentially footage that we look at while someone talks. B-Roll is crucial, because we do not want to look at your interview subject while he or she talks for 30 seconds.Most of the filming you do will be used for B-Roll. You're most likely familiar with B-Roll footage from the news.
B-Roll fail.
Take a look at the following page illustrating the visual difference B-roll can make. Think of B-roll as your way of telling a visual story while the narrative story is happening. They offer some great tips: 1. keep it relevant, 2. plan ahead, 3. camera movement, 4. limit distractions, 5. timing is everything. Those are all great things to keep in mind, but I want you to especially think of B-roll as a way to disguise your edits. In the first video, notice how prevalent the edits are-- there's nothing to distract you from the fact that a cut happened. In the second video, pay attention to how seamless the editing is-- this is because of B-roll footage.
Sunday, February 21, 2016
Understanding Film Terms
Below are some key terms and explanations (with examples) of key film concepts and terms.
Subscribe to:
Posts (Atom)